Buried in Salt: The Ancient Cooking Trick That Makes Everything Taste Better
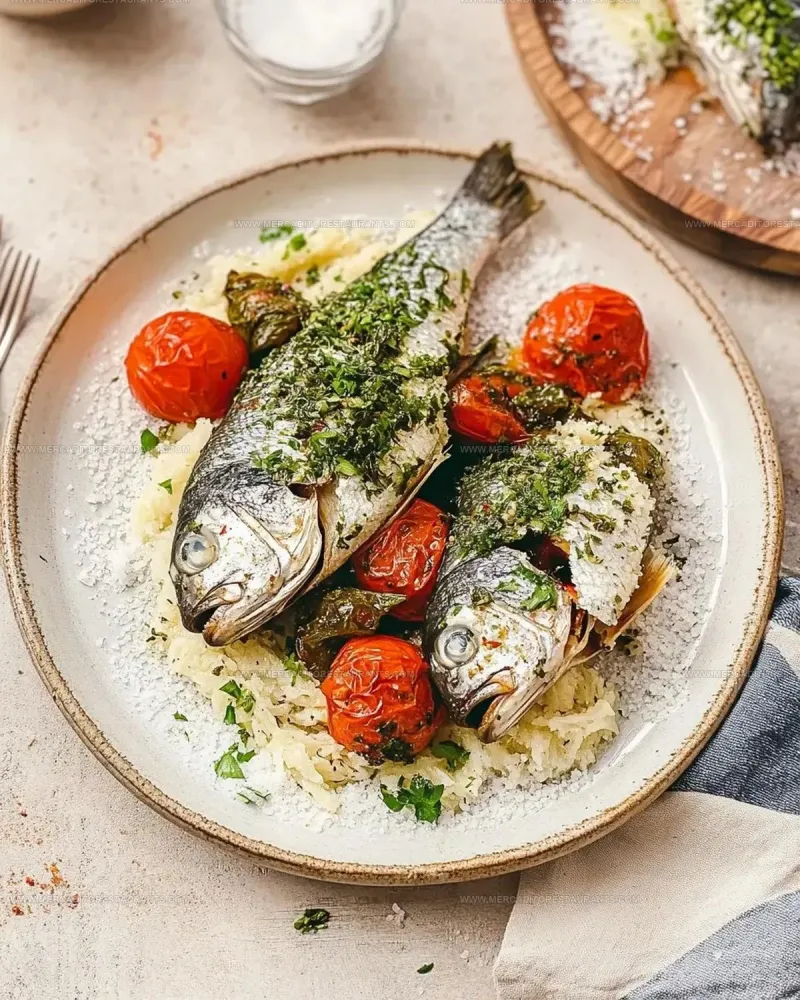
Photo: salt crust whole roasted fish breaking open at dinner table, via www.mercaditorestaurants.com
Here's a scenario: you crack open a thick, golden shell of hardened salt at the dinner table, and a cloud of herb-scented steam rises up while your guests lose their minds. That's salt crust cooking — one of the oldest culinary techniques on the planet — and it's having a serious moment in American home kitchens right now.
Chefs have leaned on this method for decades because it delivers something almost no other technique can: perfectly even heat distribution with zero moisture loss. But despite its fancy reputation, there's nothing about it that requires a culinary degree or a commercial kitchen. You just need the right salt, a little know-how, and the willingness to trust the process.
So What's Actually Happening Inside That Crust?
The science here is pretty elegant. When you pack a protein — a whole fish, a beef tenderloin, a chicken breast — inside a thick salt crust and slide it into a hot oven, a few things happen simultaneously.
First, the salt absorbs surface moisture from the food and, combined with egg whites (more on that in a sec), begins to harden into a rigid shell. That shell acts like a custom-fitted oven inside your oven. Heat penetrates slowly and evenly from all directions, which eliminates the hot spots that cause uneven cooking. There's no direct blast of dry oven air hitting the meat, so proteins stay moist and tender.
Second — and this is the part people don't expect — the food doesn't turn into a salt lick. A properly built salt crust seasons the exterior of whatever's inside, but the interior picks up only a subtle, even seasoning. The crust draws moisture toward it, not salt into the food. The result is something that tastes deeply seasoned without being salty in that overwhelming, one-note way.
Choosing the Right Salt for the Job
Not all salts behave the same way in a crust, and this is where things get genuinely interesting for anyone who loves specialty ingredients.
Coarse kosher salt or coarse sea salt should make up the bulk of your crust — we're talking 70 to 80 percent of the mixture. You want large, irregular crystals that interlock and create a porous-but-sturdy structure. Fine table salt packs too densely, traps too much moisture in weird ways, and can over-season the food. Go coarse every time.
Pink Himalayan salt is a popular choice for the base mix because its mineral content adds a faint earthiness that complements roasted proteins beautifully. It also looks stunning when you crack the crust open — that rosy, speckled shell is genuinely beautiful on a dinner table.
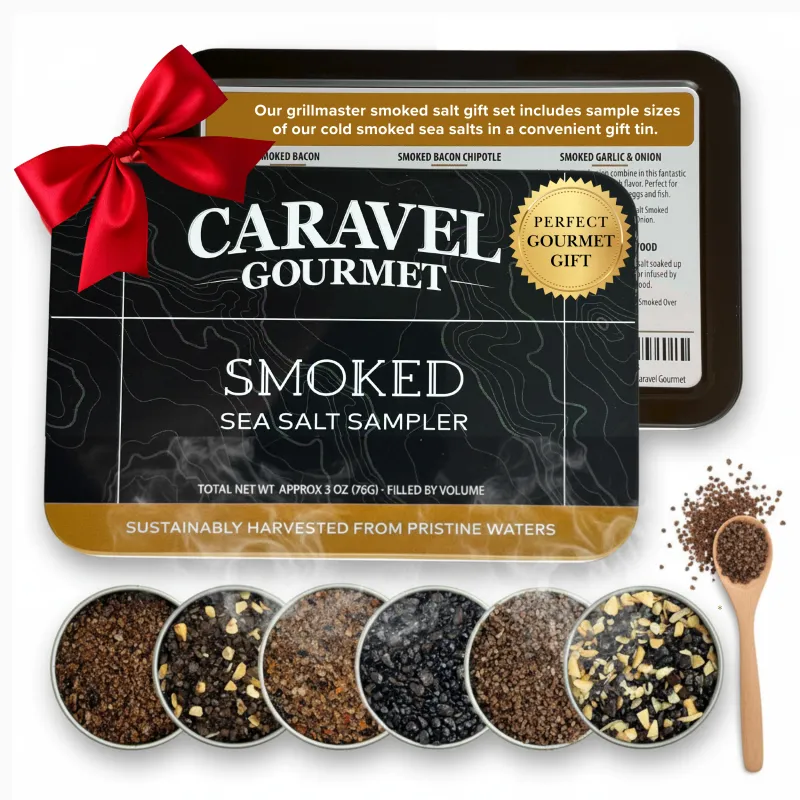
Smoked salts are where things get really fun. Blending in 20 to 25 percent of a good smoked sea salt — something like an alderwood or applewood variety — adds a low, smoky undercurrent to the finished dish without ever touching an actual grill or smoker. This works especially well with whole fish like branzino or sea bass, where you want that campfire-adjacent flavor without overpowering delicate flesh.
Herb-infused and flavored salts can be mixed into the crust or pressed onto the surface of the food before encasing it. Rosemary salt, lemon-herb salt, or even a truffle salt rubbed directly onto a beef tenderloin before it gets packed in the crust adds a flavor layer that the steam inside the shell slowly infuses into the meat as it cooks.
Building the Perfect Crust: A Step-by-Step Breakdown
The basic formula is simple and scales up or down depending on what you're cooking.
What you'll need:
- 4 to 5 cups coarse salt per pound of protein
- 2 to 3 egg whites per pound of salt
- Optional: fresh herbs, citrus zest, cracked pepper, or a splash of water to adjust consistency
Step 1: Mix your crust. Combine salt with egg whites in a large bowl. The mixture should feel like wet sand — it clumps when you squeeze it but isn't soupy. If it's too dry, add water a tablespoon at a time. This is the moment to fold in your specialty salts, herbs, or aromatics.
Step 2: Prep your protein. Season the food itself before it goes into the crust. This is where a finishing salt or a flavored salt rub earns its place. Don't skip this step thinking the crust will do all the work — layering flavor at multiple points is what separates a great result from a good one.
Step 3: Build the base layer. On a parchment-lined sheet pan, press down a layer of your salt mixture roughly half an inch thick. This is your foundation. Lay the protein directly on top.
Step 4: Pack and seal. Mound the remaining salt mixture over and around the food, pressing firmly to eliminate air pockets and create a uniform shell. The goal is even thickness all the way around — about half an inch everywhere.
Step 5: Roast. A whole fish (around 2 pounds) needs about 25 to 30 minutes at 400°F. A beef tenderloin roast needs longer — figure on an internal temperature probe inserted through the crust if you want to be precise, or use timing guidelines based on weight. The crust should turn golden and feel rock-hard when tapped.
Step 6: The crack. Use the back of a heavy spoon or a small mallet. Crack from the top down and peel away the shell in sections. This is the moment everyone at the table stops talking.
Flavor Layering: Where Specialty Salts Really Shine
The crust technique is a great equalizer — it handles the cooking part almost automatically. That frees you up to focus on flavor complexity. Think about building flavor in three stages: the crust mix itself, the surface seasoning on the protein, and any finishing salt you add after the crust comes off.
For fish, try a lemon-herb salt in the crust, a light smoked salt rub on the fish itself, and a pinch of flaky finishing salt right before serving. For beef, consider a black truffle salt in the crust mix paired with a cracked pepper and garlic salt rub on the meat. The layers build on each other in a way that feels complex and intentional without requiring much extra effort.
Why This Technique Belongs in Your Regular Rotation
Salt crust cooking isn't just a dinner party trick — though it's absolutely a dinner party trick. It's also a genuinely practical method for weeknight cooking when you want hands-off results that are hard to mess up. Once that crust goes on, the oven does the work. There's no basting, no flipping, no checking every ten minutes.
And honestly? Cracking open a salt crust at the table is one of the most satisfying things you can do as a home cook. It's theatrical without being fussy, and it signals to everyone at the table that something special just happened — even if the whole prep took you twenty minutes.
The right salts make all the difference, and that's kind of the whole point.